For some years I've been enamoured of the idea to create a forest garden, an edible and fairly low maintenance way to grow food. It's only with this garden that I realised that I had the right conditions to finally create my own mini forest garden border.
Martin Crawford's book (right) is the seminal text for learning about forest gardening, and it was a rare occasion where I read a gardening book from cover to cover. It just has so much information that was written in a straight forward tone, following each step of the process, and offering a large range of suggestions of what plants can be grown in each layer that will suit a range of climates.
My intention here is to show you how you can use the principles of creating a forest garden on a small urban garden scale. I aim to create a space that offers food for myself and for pollinators, that works within my health limitations (I have the chronic illness, ME), and that adds beauty to my small garden, whilst also being low maintenance.
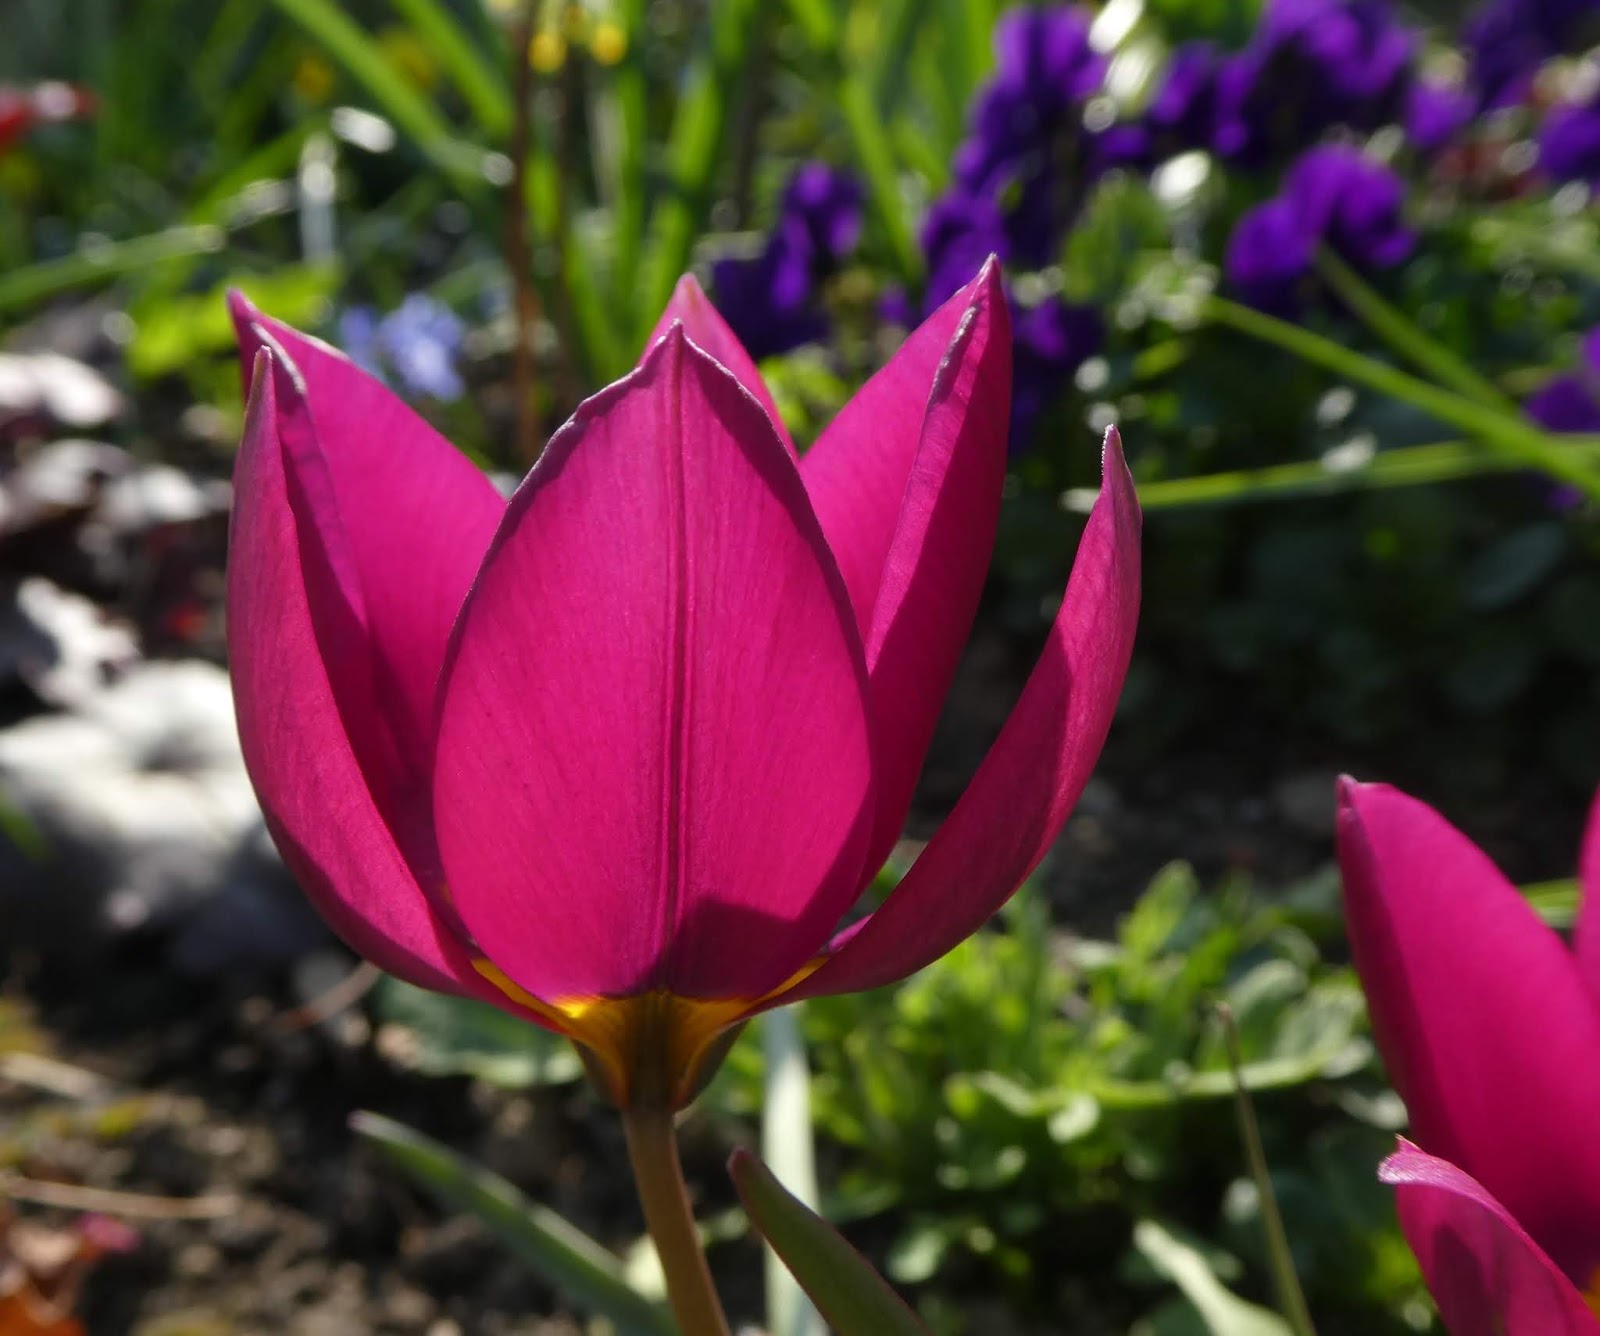
The space that will become my Forest Garden Border
First up, I measured out the space and plotted this onto a base map, including the direction of North. I had previously done a soil test so I knew that my soil is acid clay. Apart from digging the holes for plants, I use the no-dig method. I plan on adding compost and mulch each time a key plant is planted, and will continue to add some each autumn to the whole border and I'll let the worms do the work to loosen up the soil, and release the nutrients that are locked up in clay soil.
I had spent a few months surveying the space and the way light and shadow moved across it and added a sun map on top of the base map. The border has one south-facing side and one west facing side and the arrows show how the sun moves across the garden during the day, moving from the top arrow, down. Plotting this and the base may measurements out was important for helping me decide how many trees, and what type, I could include in my design.

For example, the Amelanchier, which is shown on the Sun Map, is in a raised border off
to the right. Though it will cast a small amount of shade a certain
times of day when in leaf, because of it's height, and the height of the sun from April to September, this will be quite
minimal and won't impact on the amount of light plants like the rhubarb
and apple trees will get. And in winter it's deciduous so the forest garden border will benefit from all light available during this period. The greengage is in the South-West corner, and won't be casting an shade at all on the plants below as the sun is always moving in front of it. I do need to ensure I keep it pruned so that it doesn't get to big and block a neighbour's garden though.
Now we come to the layout map. Here I have plotted out all the key plants, A - N, and worked out their ultimate size and placed each onto the map. The ground cover plants will be slotted in here and there as space allows.
See the full list of plants below
Drawing circles is not my strong point(!). But I've been able to map out the maximum size of each plant so I'm clear what can fit in. It will still look a little bare for the first couple of years whilst the plants start filling out, so I'll have to be strong and not add any more, only to have to remove them later because the other plants have grown to their full width and height.
A forest garden has 3 layers, though I've broken them down below into 4 (separating out the Perennial and Ground Cover layers), as I found this more helpful for my planning.
Tree canopy layer: This includes small as well as large trees. These are A, H and N on my plan, a greengage and two apple trees.There is also the Amlanchier tree off to the right of the actual border, that I consider a part of my forest garden. Whilst it looks like they will be crowding the plants next to them, they won't because they will all have trunks with the first branches growing above the plants below in the Shrub and Perennial layers.
Shrub layer: Because my soil is acid clay, it made sense to add in fruit that grows well in acid soil. So cranberry and blueberries have been chosen. One of the blueberry varieties,
Hortblue Petite, crops at least twice a year, and it is a
nectar source for bees and other beneficial insects.
Perennial layer: This is going to be a mix of edible plants, such as the sorrel and rhubarb, and plants for pollinators, such as the comfrey. The comfrey is the 'Bocking 14' variety, which doesn't self seed. Comfrey, with it's deep roots, is an excellent nutrient and mineral accumulating plant, particularly of potassium. If you plant comfrey near fruiting trees and shrubs, they benefit from the minerals the comfrey has accumulated. This is why the two comfrey plants are on either side of the greengage tree and not far from the cranberry and blueberries. Comfrey leaves can also be used as a mulch, and of course, to make
comfrey liquid feed.
Ground level layer: This is also a mix of edibles, such as the sweet violets, strawberries and ramsons, and plants for pollinators. Eventually there should be no bare soil showing, which should limit annual weeds from germinating.
Two Blueberries and some violas waiting to be planted out into the Forest Garden Border
I want the border to be low maintenance, in particular because I have so little energy to undertake tasks in the garden. The main maintenance tasks will be pruning the fruit trees, summer for the greengage, winter for the apple trees, and cutting back dead foliage of the perennials in early spring. At this stage the soil is mostly bare, so there may be some weeding required, but hopefully the ground cover plants will do their job and make weeding minimal in the future.
I took time in planning the border. This is in part because of my health, but mainly because good permaculture practice is to take time to observe the space, ideally over a year. This helps you spot issues that might not show to start with. Although my garden is relatively flat, careful observation showed me that this part of the garden is the highest, but another area is lower and I discovered it could be prone to some flooding, mainly water sitting on top of the soil/grass. Water flows from the Forest Garden Border area down, so hopefully as mulching over time loosens the soil, it will also drain better so it doesn't all flow down to the lower part of the garden.
It was also important to really think through what I wanted to grow and why. Each plant I've chosen suits my taste, skill, and health limitations, and is also suitable for the space where I'm creating the Forest Garden Border. I'll continue to observe how the border grows, and adapt, if needed, over time. For now, I'm excited to put the plan into action; I'll finally have my own (mini) Forest Garden Border!
Andrea, my gardener, will be helping get the blueberries and other plants into the ground next week, and I'll choose two apple trees in the autumn. I'll post follow-up in the summer, so you can see how it's coming along.
I inherited the rhubarb with the garden, and it's now ready for my first harvest of the year.
* * * * *
PLANT LIST
Canopy layer
A: Greengage, Prunus domestica 'Golden Transparent'
H & N: Apple trees, to be chosen. They will be on a dwarfing or semi-dwarfing rootstock.
K: Akebia quinata, also known as the chocolate vine. Although the fruit is edible, I'm predominately growing it for the
flowers and to allow it to grow all over the wall as it's an evergreen.
I'm hoping that, along with the ivy that's already growing on the wall from a neighbours garden, that it will offer a further habitat for
small insects and pollinators.
Also, just off to the right of the top border is an Amelanchier x grandiflora 'Ballerina', also known as Juneberry or Apple serviceberry tree. This has the most edible of all Amelanchier fruits and I consider it part of the forest garden, though it sits outside the border.
Shrub layer
E: Cranberry (variety unknown)
F: Azalea (variety unknown). It's here because had it, and it's happy in acid soil. The flowers are good for pollinators.
I: Blueberry, Vaccinium corymbosum 'Hortblue Petite'
J: Blueberry, Vaccinium corymbosum 'Bluecrop'
Perennial layer
B: Rhubarb (variety unknown)
C & D: Sorrel, Rumex acetosa (non-flowering variety)
G: Golden oregano, Origanum vulgare 'Aureum'
L & M: Comfrey 'Bocking 14'
Ground cover (plants mixed all around the border)
*Strawberry, Fragaria x ananassa 'Samba'. This is a smaller sized strawberry, but is made up for in the fact that it fruits from May until November.
*Sweet violets, Viola odorata 'Queen Charlotte'. Edible flowers and good for pollinators.
*Ramsons, Allium ursinum. Also known as wild garlic. Edible stalks and leaves and good for pollinators.
*Ajuga reptans 'atropurpurea'. A good evergreen ground cover plant. Helps cover bare soil so there are less weeds.
*Primula vulgaris. Good for pollinators and will self seed and help cover bare soil.
*Phacelia tanacetifolia. This is an annual that will self seed. It is known as a green manure and is excellent for pollinators.
I will also add a mix of early flowering spring bulbs this autumn to help early pollinators such as solitary bees, and to add further interest and beauty.
Martin Crawford's book,
Creating a Forest Garden, was pivotal in helping me understand what should go
where and why. I highly recommend it, and because it's been around for
some years, it can be found in libraries too.